Showing posts with label door wreath. Show all posts

Monday, July 25, 2011

What have I been up to....

Well, I finally finished my summer wreath....with the saying, "better late than never", yeah, whatever...anyway here it is...

I found my inspiration for this wreath from Scissors and Spatulas Blog.  Go check out her post for the full tutorial, and her tutorial for the Fabric Flowers and Rosettes.  I enjoyed every minute of making this wreath and I'm sure I'll be making more in different colors.  I chose to use reds, chartreuse, yellow and white as my colors to match the cushions on my front porch, but when you see the following pics of my summer flowers, you'll notice I planted most everything in pinks....what was I thinking you might ask...well I was planting at the same time I was helping to plan my daughter's baby girl shower....so pink was definitely on my mind.
 I at least had the foresight to use red pots...
I love this vintage copper canner...


My Brown-eyed Susans are just starting to bloom...

And "million-bells" are one of my all time favs...


Who doesn't love daisies!!! (this may not be what they are called in the different colors, but that's what they look like to me)

I've also been very inspired to try my hand at spray-painting this year after seeing all the fun projects on other blogs.  So my first spray-painting project was the following metal 4-tiered ivy plant stand which was rusted and icky looking, sorry I forgot to take a before pic...
I placed it on my front porch and placed my herbs on it as they were getting too much sun on our deck....my basil is not doing so great this year, but the rosemary and italian flat-leaf parsley are going gangbusters.  And the off-white pot that holds the pony-tail palm is most certainly next on the spray-painting list...
I've simply fallen in love with succulents...I had this small windowbox/frame in aqua blue, so a coat of pure white was def called for...then I painted the small cream colored plastic pots and planted a couple of succulents in them, then topped them with beach gravel.   They may very well be my summery fav...

 Note to self: next year plan colors better!!!!

Saturday, March 19, 2011

My 1st Wreath Craft...& new Etsy item Listing

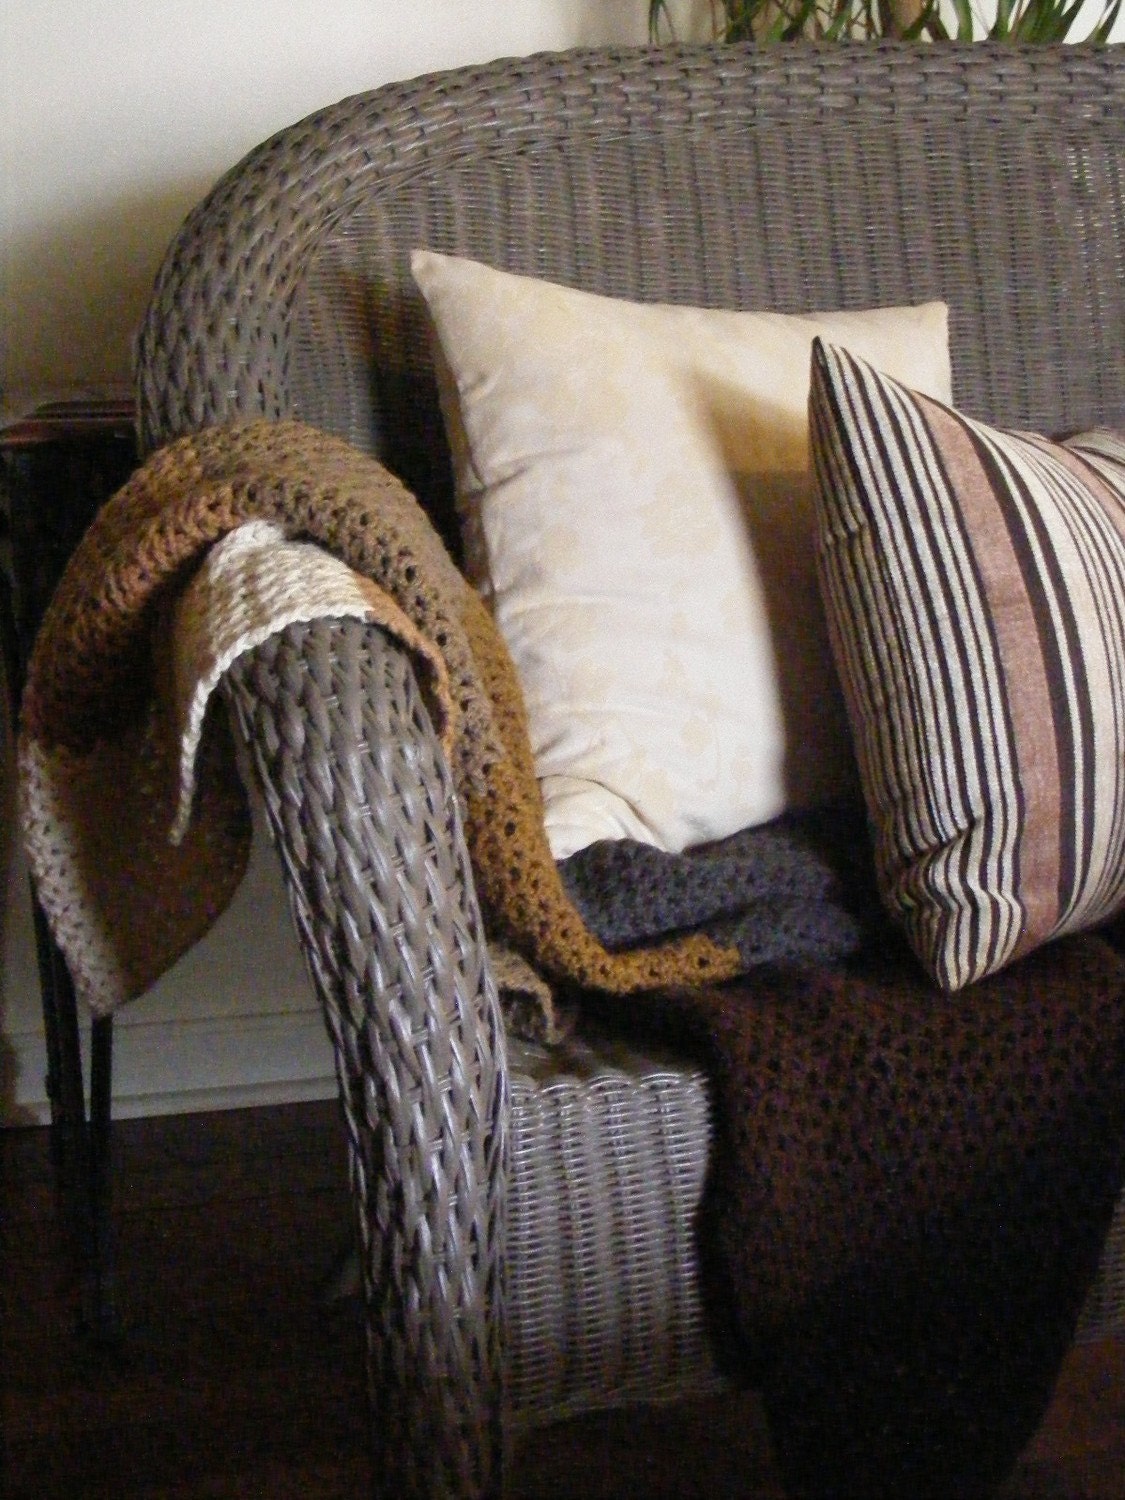
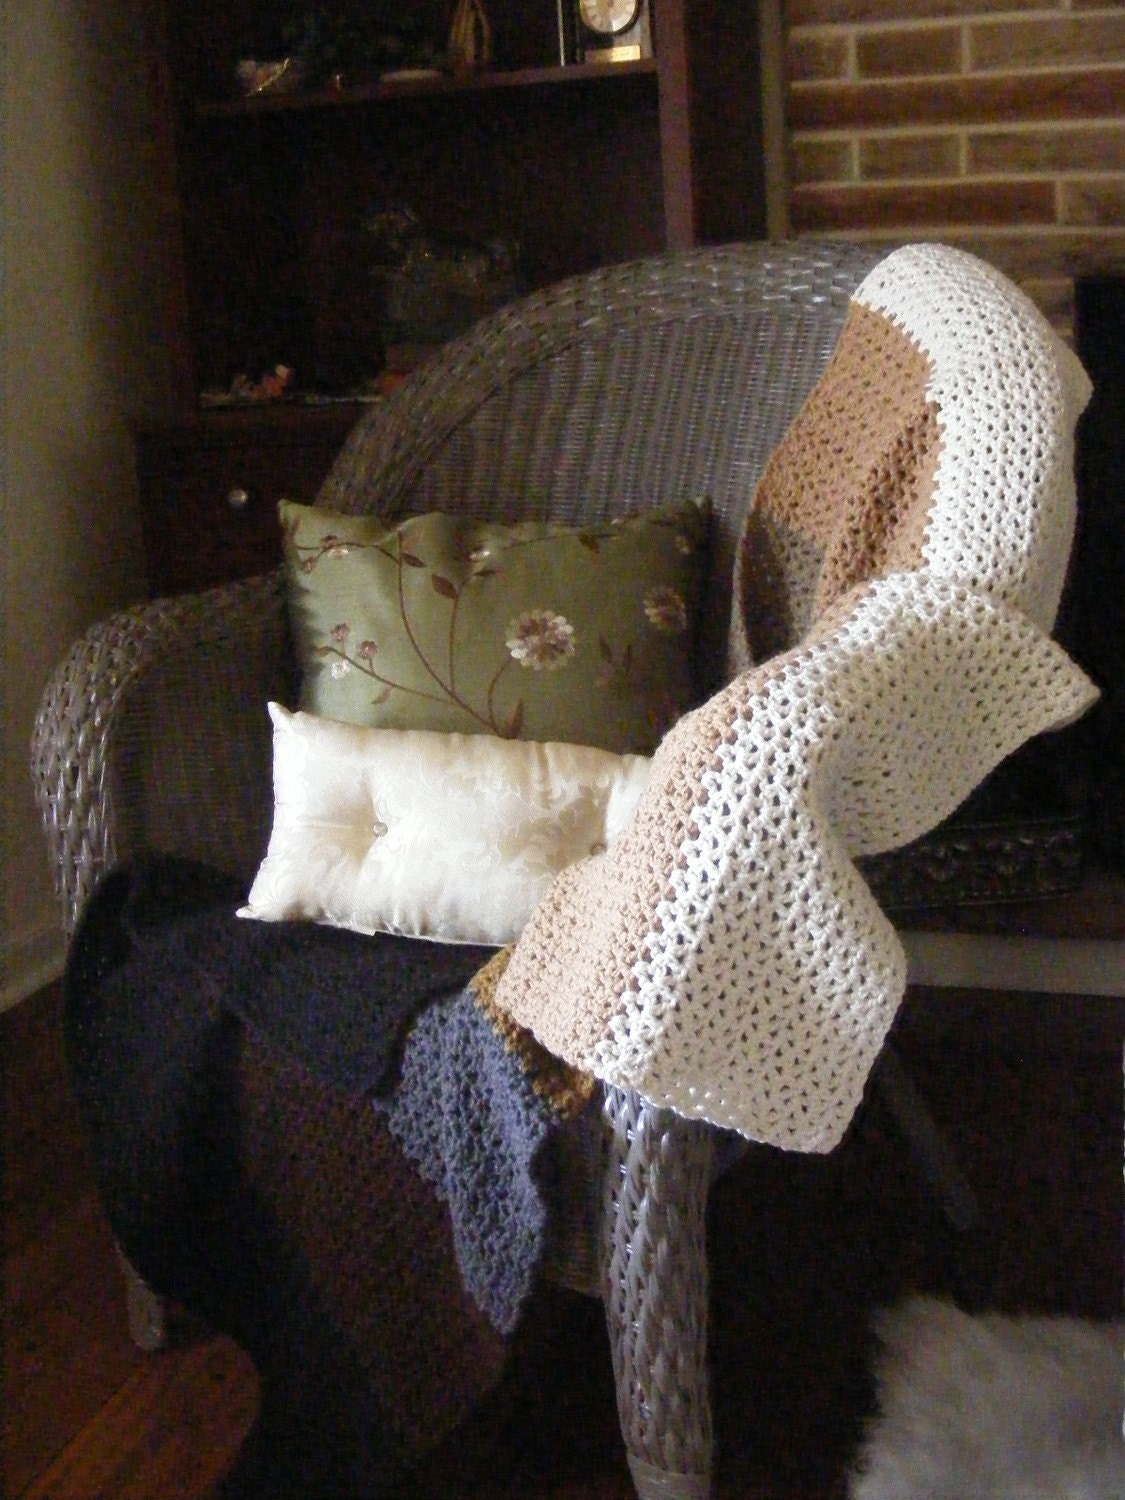
I previously posted about this afghan in my new series "What's on my needles...(or hook)". It was commissioned by etsy seller Nikki of Bond Girl Creations 26, and she loved it. Here's what she said in her feedback...
"Such a pleasure to work with...she bent over backwards to make me exactly what I wanted and the blanket is simply gorgeous and such high quality! The packaging was exceptional too! :)"
What wonderful compliments! Thank you Nikki.

I've decided to offer it for sale in my etsy shop, the new listing is here. It will be a CUSTOM order, which means I will make it to suit the buyer after they purchase it. I'm also writing up the pattern for possible sale too, (haven't yet decided if I want to do that).

I call it Nature's Gradation as I made it using all Earth Tones and it graduates from the darkest color at the bottom to the lighest at the top. I also made it out of organic cotton yarn in a very open design crochet so that it can be used all year round. One of the best things about using cotton is that it just gets softer and softer with use.


And here is my very first door wreath!!!! I was so excited when I finished it, that I just had to share.

I've never considered myself a "crafty" person, to me knitting and crocheting are skills that I've learned, but when I was watching Martha Stewart a few weeks ago, they made the cutest little oval wreath and I had a very strong urge to give it a try (they made it look sooooo easy, and it really is).


I really liked the little one they made but I wanted a big one for my front door, and I wanted it decorated more for easter. So, first thing I had to do was take to a trip to Hobby Lobby (all their wreath making supplies and flowers were 50% off, yay). So now I have what I need to make more in the future (cause, yeah, I enjoyed it so much I'll probably be making one for every season)...

But for this one I purchased a large round grapevine wreath

some dried eucalyptus

light pink gerbera daisies, hot pink gerbera daisies

chartreuse hydrangeas

a very small bag of dried moss that had a nice variety

a bag of plastic easter eggs in assorted sizes (all the easter decorations was 50% off as well, double yay)

thin gauge wire

pins

and wide green and white stripe roll of ribbon (also 50% off, yayyayyay)

And my mom (who is one of those people that can do anything she sets her mind to) came for a quick visit, so I roped her into helping me...THANK YOU MOM!!!!

First step was to soak the grapevine wreath in water, I did mine in the tub with a bath towel on top of it to keep it submerged, overnight. To make the wreath oval, I just used my hands and squeezed the top until it was the shape I wanted.

Next I used some shears to cut away some of the grapevine along the small end of the oval (which was going to be the top of my wreath) along the outside edge just to get a more oval shape.

I started adding the dried eucalyptus by just sticking it into the wreath where I wanted it, then started adding the flowers the same way.

I left space at the bottom to attach the moss which we had soaked to rehydrate (because I wanted living moss not dried)...and WOW, that teeny tiny bag of dried moss completely covered my center kitchen island once it plumped up! I attached it using the floral pins just shoved down into the grapevine.

Next job was to attach the easter eggs using my hot glun gun.

Last, we made the bow (going to have to get some bow-making lessons from my sister-in-law Kelly), but I think we managed to make it presentable.

To keep the moss alive, all I have to do is keep it spritzed with water! I LOVE it! And mom and I had so much fun making it. I'm already thinking about the ones I want to try for the other 3 seasons...

I would recommend going to http://www.marthastewart.com/ for the full tutorial, I'm sure it's much more detailed.

Can you see who's peeking out at the bottom of the door, and I don't mean my reflection taking the pic???

Linked to: BetweenNapsOnThePorch check it out for other before and after ideas AND Swing Into Spring Party at DIY by Design Blog