
I wanted to take a quick moment and send out a special "Thank You" to all the people who have decided to "follow" my blog.
I orginially started my blog just for fun and to possibly promote my Etsy Shop. But, it has gradually morphed into a wide variety of subjects near and dear to me...one of which is promoting other etsy shops featuring items I find and love.
I orginially started my blog just for fun and to possibly promote my Etsy Shop. But, it has gradually morphed into a wide variety of subjects near and dear to me...one of which is promoting other etsy shops featuring items I find and love.
I'm a big fan of showing appreciation for the gifts we are given...nothing makes the gift giver feel more special than to receive a truly sincere, heartfelt "Thank You".
So here's a few more ideas for anyone to show their own appreciation...

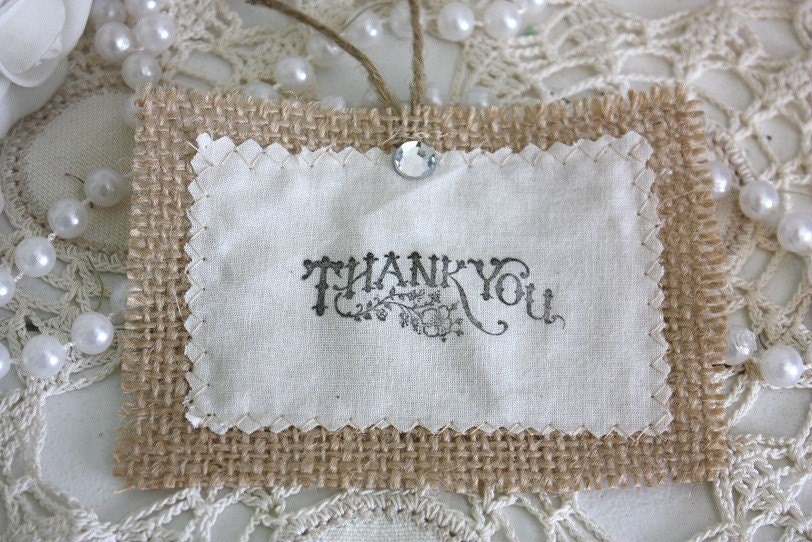
Thank You Wedding Sign
by
Signs By Diane
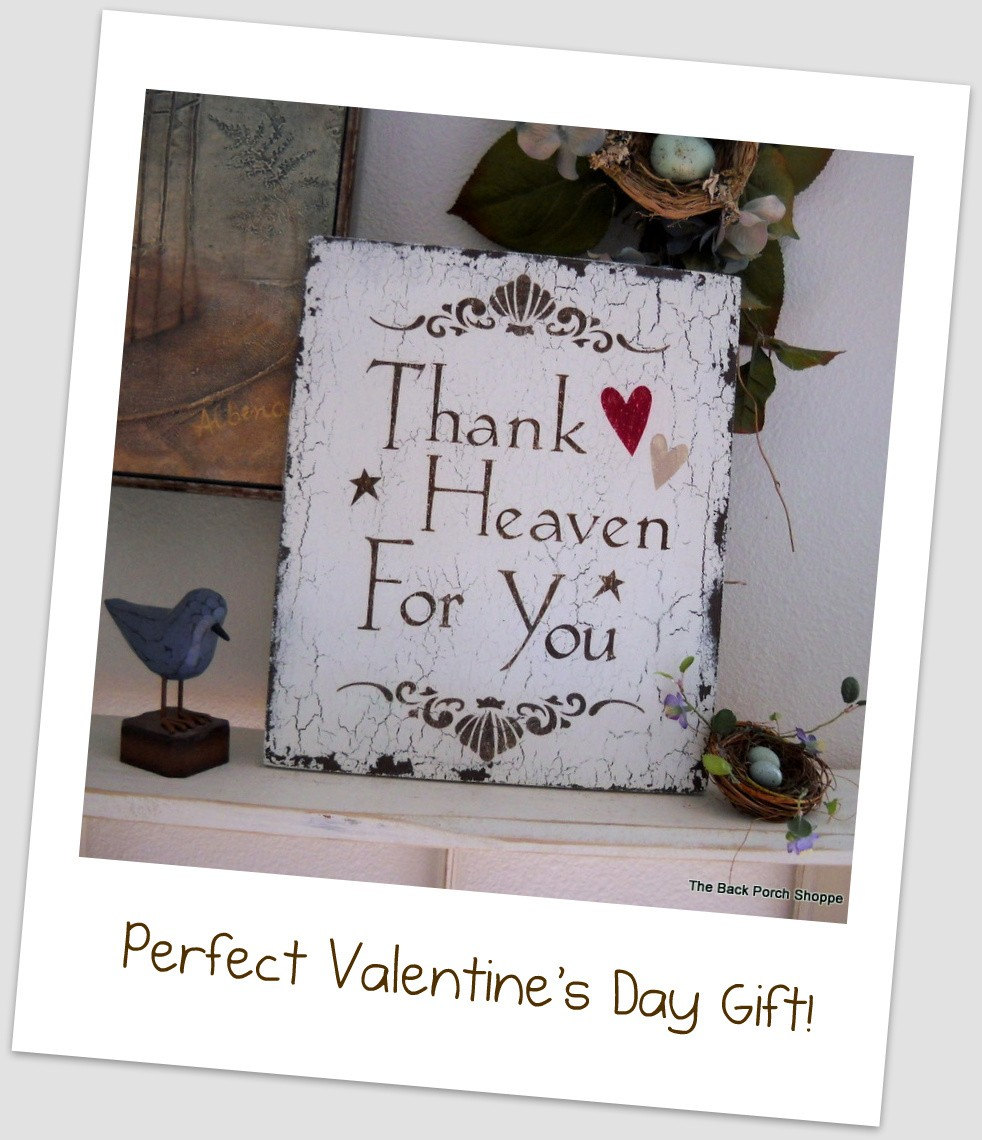 Thank Heaven For You
by
The Back Porch Shoppe
 Burlap Glitter Banner
by
funkyshique
And finally, I wanted share the "Thank You" cards I made for my daughter to send out for her baby shower using the Mixbook website.
 This is the front of the card....I tried to upload it with a higher dpi, but either blogger or my internet service wouldn't let me. I hope you can see enough of the detail. These look much, much better in person than the pics show, they are much more 3-dimensional, and all the elements and details really pop off the page. They are also printed on heavy cardstock.
We wanted to make the "Thank You's" as if coming directly from the baby, so I inluded a pic of expectant Mommy's belly and a small pic of the shower thank you gifts.
 For the back of the card, my daughter found a poem she wanted to include, it's written as though from the expected little one. I also left enough space to the left of the poem for "Mommy" to hand write a thank you from herself. I hope you can see the entire poem...
I hope these items will give you some great ideas if you have need for them in the future, or maybe they'll just inspire you to come up with something of your own. I'd love to hear ways you show YOUR appreciation, I'm always looking for different ideas...:)))
by
Signs By Diane
by
The Back Porch Shoppe
by
funkyshique
And finally, I wanted share the "Thank You" cards I made for my daughter to send out for her baby shower using the Mixbook website.

We wanted to make the "Thank You's" as if coming directly from the baby, so I inluded a pic of expectant Mommy's belly and a small pic of the shower thank you gifts.

I hope these items will give you some great ideas if you have need for them in the future, or maybe they'll just inspire you to come up with something of your own. I'd love to hear ways you show YOUR appreciation, I'm always looking for different ideas...:)))


 ">
"> ">
">